可观察性的设置
开启 Amazon Cloudwatch Container Insights
为名为cloudwatch-agent的 service account 创建 IAM role:
eksctl create iamserviceaccount \
  --cluster eksworkshop-eksctl \
  --namespace amazon-cloudwatch \
  --name cloudwatch-agent \
  --attach-policy-arn  arn:aws:iam::aws:policy/CloudWatchAgentServerPolicy \
  --override-existing-serviceaccounts \
  --approve

2021-05-02 17:52:36 [ℹ]  eksctl version 0.45.0
2021-05-02 17:52:36 [ℹ]  using region $AWS_REGION
2021-05-02 17:52:36 [ℹ]  1 existing iamserviceaccount(s) (prodcatalog-ns/prodcatalog-envoy-proxies) will be excluded
2021-05-02 17:52:36 [ℹ]  1 iamserviceaccount (amazon-cloudwatch/cloudwatch-agent) was included (based on the include/exclude rules)
2021-05-02 17:52:36 [!]  metadata of serviceaccounts that exist in Kubernetes will be updated, as --override-existing-serviceaccounts was set
2021-05-02 17:52:36 [ℹ]  1 task: { 2 sequential sub-tasks: { create IAM role for serviceaccount "amazon-cloudwatch/cloudwatch-agent", create serviceaccount "amazon-cloudwatch/cloudwatch-agent" } }
2021-05-02 17:52:36 [ℹ]  building iamserviceaccount stack "eksctl-eksworkshop-eksctl-addon-iamserviceaccount-amazon-cloudwatch-cloudwatch-agent"
2021-05-02 17:52:37 [ℹ]  deploying stack "eksctl-eksworkshop-eksctl-addon-iamserviceaccount-amazon-cloudwatch-cloudwatch-agent"
2021-05-02 17:52:37 [ℹ]  waiting for CloudFormation stack "eksctl-eksworkshop-eksctl-addon-iamserviceaccount-amazon-cloudwatch-cloudwatch-agent"
2021-05-02 17:53:10 [ℹ]  created namespace "amazon-cloudwatch"
2021-05-02 17:53:10 [ℹ]  created serviceaccount "amazon-cloudwatch/cloudwatch-agent"
为名为fluent 的service account 创建 IAM Role:
eksctl create iamserviceaccount \
  --cluster eksworkshop-eksctl \
  --namespace amazon-cloudwatch \
  --name fluentd \
  --attach-policy-arn  arn:aws:iam::aws:policy/CloudWatchAgentServerPolicy \
  --override-existing-serviceaccounts \
  --approve

2021-05-02 17:54:09 [ℹ]  eksctl version 0.45.0
2021-05-02 17:54:09 [ℹ]  using region $AWS_REGION
2021-05-02 17:54:10 [ℹ]  2 existing iamserviceaccount(s) (amazon-cloudwatch/cloudwatch-agent,prodcatalog-ns/prodcatalog-envoy-proxies) will be excluded
2021-05-02 17:54:10 [ℹ]  1 iamserviceaccount (amazon-cloudwatch/fluentd) was included (based on the include/exclude rules)
2021-05-02 17:54:10 [!]  metadata of serviceaccounts that exist in Kubernetes will be updated, as --override-existing-serviceaccounts was set
2021-05-02 17:54:10 [ℹ]  1 task: { 2 sequential sub-tasks: { create IAM role for serviceaccount "amazon-cloudwatch/fluentd", create serviceaccount "amazon-cloudwatch/fluentd" } }
2021-05-02 17:54:10 [ℹ]  building iamserviceaccount stack "eksctl-eksworkshop-eksctl-addon-iamserviceaccount-amazon-cloudwatch-fluentd"
2021-05-02 17:54:10 [ℹ]  deploying stack "eksctl-eksworkshop-eksctl-addon-iamserviceaccount-amazon-cloudwatch-fluentd"
2021-05-02 17:54:10 [ℹ]  waiting for CloudFormation stack "eksctl-eksworkshop-eksctl-addon-iamserviceaccount-amazon-cloudwatch-fluentd"
2021-05-02 17:54:44 [ℹ]  created serviceaccount "amazon-cloudwatch/fluentd"
为 Managed Nodegroup部署 Container Insights:
curl -s https://raw.githubusercontent.com/aws-samples/amazon-cloudwatch-container-insights/latest/k8s-deployment-manifest-templates/deployment-mode/daemonset/container-insights-monitoring/quickstart/cwagent-fluentd-quickstart.yaml | sed "s/{{cluster_name}}/eksworkshop-eksctl/;s/{{region_name}}/${AWS_REGION}/" | kubectl apply -f -

% Total    % Received % Xferd  Average Speed   Time    Time     Time  Current
                                Dload  Upload   Total   Spent    Left  Speed
100 15552  100 15552    0     0  45840      0 --:--:-- --:--:-- --:--:-- 45876
namespace/amazon-cloudwatch configured
Warning: kubectl apply should be used on resource created by either kubectl create --save-config or kubectl apply
serviceaccount/cloudwatch-agent configured
clusterrole.rbac.authorization.k8s.io/cloudwatch-agent-role created
clusterrolebinding.rbac.authorization.k8s.io/cloudwatch-agent-role-binding created
configmap/cwagentconfig created
daemonset.apps/cloudwatch-agent created
configmap/cluster-info created
Warning: kubectl apply should be used on resource created by either kubectl create --save-config or kubectl apply
serviceaccount/fluentd configured
clusterrole.rbac.authorization.k8s.io/fluentd-role created
clusterrolebinding.rbac.authorization.k8s.io/fluentd-role-binding created
configmap/fluentd-config created
daemonset.apps/fluentd-cloudwatch created
上面的命令将:
-
创建
Namespace: amazon-cloudwatch。 -
为两个 DaemonSet -
cloudwatch-agent和fluentd-cloudwatch创建必需的安全对象:-
ServiceAccount -
ClusterRole -
ClusterRoleBinding
-
-
将 Cloudwatch-Agent(负责将 metrics 发送到 CloudWatch)以
DaemonSet的形式部署。 -
将 fluentd(负责将 logs 发送到 Cloudwatch)以
DaemonSet的形式部署。 -
为两个 DaemonSet 创建
ConfigMap
您可以通过运行以下命令来验证所有DaemonSets都已部署:
kubectl -n amazon-cloudwatch get daemonsets
NAME                 DESIRED   CURRENT   READY   UP-TO-DATE   AVAILABLE   NODE SELECTOR   AGE
cloudwatch-agent     3         3         3       3            3           <none>          2m43s
fluentd-cloudwatch   3         3         3       3            3           <none>          2m43s
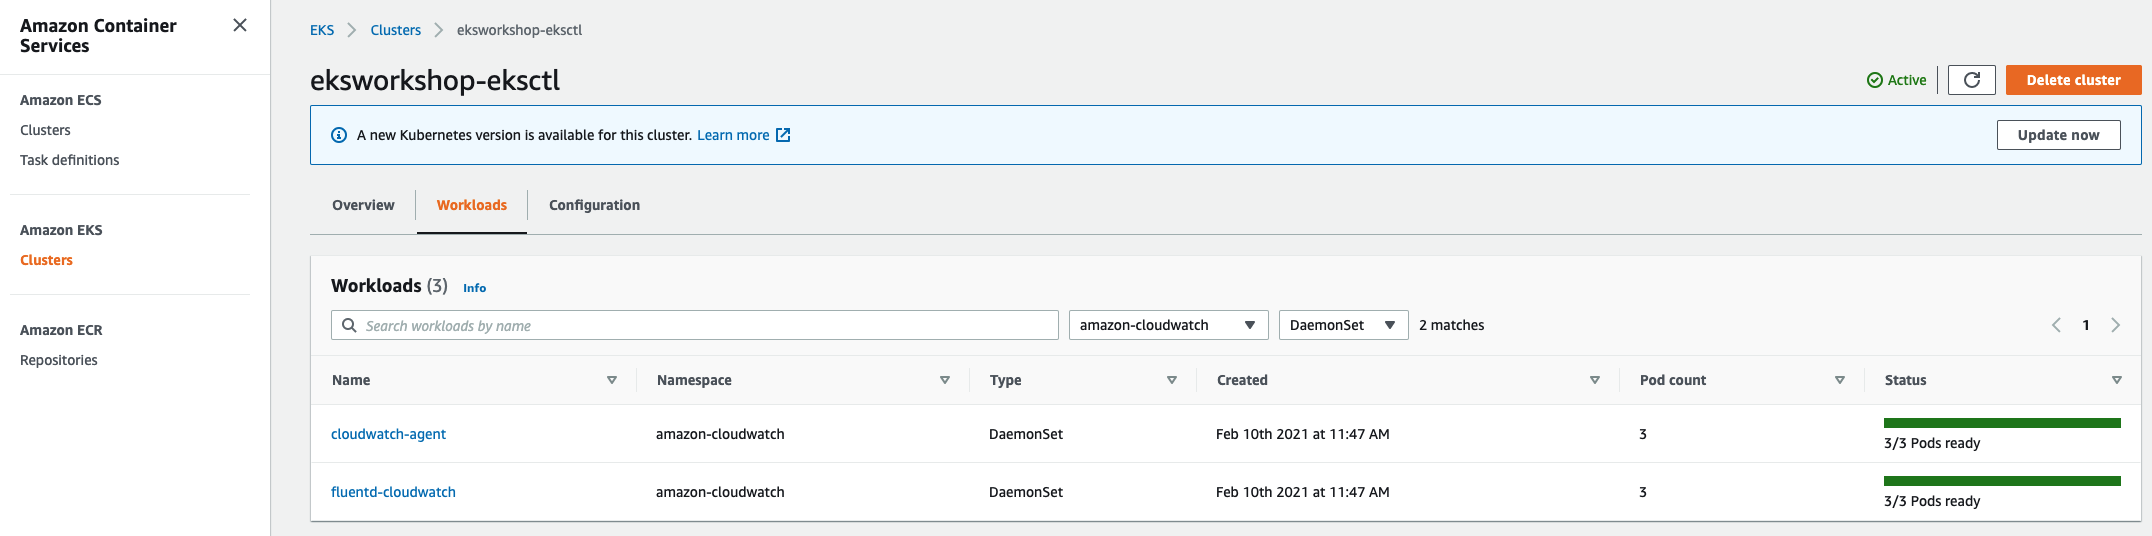
您还可以通过登录控制台并进入到 Amazon EKS -> Cluster -> Workloads 来验证DaemonSets的部署:
在 CloudWatch 中启用 Prometheus Metrics
为名为 prometheus的 service account创建 IAM Role:
eksctl create iamserviceaccount \
  --cluster eksworkshop-eksctl \
  --namespace amazon-cloudwatch \
  --name cwagent-prometheus \
  --attach-policy-arn  arn:aws:iam::aws:policy/CloudWatchAgentServerPolicy \
  --override-existing-serviceaccounts \
  --approve

2021-05-02 18:00:25 [ℹ]  eksctl version 0.45.0
2021-05-02 18:00:25 [ℹ]  using region $AWS_REGION
2021-05-02 18:00:26 [ℹ]  3 existing iamserviceaccount(s) (amazon-cloudwatch/cloudwatch-agent,amazon-cloudwatch/fluentd,prodcatalog-ns/prodcatalog-envoy-proxies) will be excluded
2021-05-02 18:00:26 [ℹ]  1 iamserviceaccount (amazon-cloudwatch/cwagent-prometheus) was included (based on the include/exclude rules)
2021-05-02 18:00:26 [!]  metadata of serviceaccounts that exist in Kubernetes will be updated, as --override-existing-serviceaccounts was set
2021-05-02 18:00:26 [ℹ]  1 task: { 2 sequential sub-tasks: { create IAM role for serviceaccount "amazon-cloudwatch/cwagent-prometheus", create serviceaccount "amazon-cloudwatch/cwagent-prometheus" } }
2021-05-02 18:00:26 [ℹ]  building iamserviceaccount stack "eksctl-eksworkshop-eksctl-addon-iamserviceaccount-amazon-cloudwatch-cwagent-prometheus"
2021-05-02 18:00:26 [ℹ]  deploying stack "eksctl-eksworkshop-eksctl-addon-iamserviceaccount-amazon-cloudwatch-cwagent-prometheus"
2021-05-02 18:00:26 [ℹ]  waiting for CloudFormation stack "eksctl-eksworkshop-eksctl-addon-iamserviceaccount-amazon-cloudwatch-cwagent-prometheus"
2021-05-02 18:00:59 [ℹ]  created serviceaccount "amazon-cloudwatch/cwagent-prometheus"
安装 Prometheus Agent:
kubectl apply -f https://raw.githubusercontent.com/aws-samples/amazon-cloudwatch-container-insights/latest/k8s-deployment-manifest-templates/deployment-mode/service/cwagent-prometheus/prometheus-eks.yaml

namespace/amazon-cloudwatch unchanged
configmap/prometheus-cwagentconfig created
configmap/prometheus-config created
serviceaccount/cwagent-prometheus configured
clusterrole.rbac.authorization.k8s.io/cwagent-prometheus-role created
clusterrolebinding.rbac.authorization.k8s.io/cwagent-prometheus-role-binding created
deployment.apps/cwagent-prometheus created
确认agent在运行:
kubectl get pod -l "app=cwagent-prometheus" -n amazon-cloudwatch

NAME                                 READY   STATUS    RESTARTS   AGE
cwagent-prometheus-95896694d-99pwb   1/1     Running   0          2m33s
为 Fargate开启日志
Fargate 有内置的日志路由,这意味着无需安装或维护 Sidecar container。 将 Fluent Conf 以 ConfigMap 形式部署到EKS 集群,该Conf中定义了容器日志发送到的位置。
这个 ConfigMap 必须在名为 aws-observability 的Namespace中使用,并会影响到整个集群,这意味着您可以从任何Namepace中的任何应用收集日志。
在本次Workshop中,我们将向您展示如何使用 cloudwatch_logs 将日志从在Fargate 运行的工作负载发送到 CloudWatch。
首先,为 Fluent Bit 创建专用的 aws-observability 命名空间和 ConfigMap:
cd eks-app-mesh-polyglot-demo
envsubst < ./deployment/fluentbit-config.yaml | kubectl apply -f -
namespace/aws-observability created
configmap/aws-logging created
接下来,验证是否成功部署了 Fluent Bit ConfigMap:
kubectl -n aws-observability get cm
NAME          DATA   AGE
aws-logging   1      18s
设置 Fluent Bit 后,我们接下来需要授予它写入 CloudWatch 的权限。 我们首先下载Policy文件到本地:
curl -o permissions.json \
     https://raw.githubusercontent.com/aws-samples/amazon-eks-fluent-logging-examples/mainline/examples/fargate/cloudwatchlogs/permissions.json
接下来创建policy:
aws iam create-policy \
        --policy-name FluentBitEKSFargate \
        --policy-document file://permissions.json
{
    "Policy": {
        "PolicyName": "FluentBitEKSFargate",
        "PermissionsBoundaryUsageCount": 0,
        "CreateDate": "2021-02-04T07:11:07Z",
        "AttachmentCount": 0,
        "IsAttachable": true,
        "PolicyId": "ANPAV45SCB72QX3SZN2RS",
        "DefaultVersionId": "v1",
        "Path": "/",
        "Arn": "arn:aws:iam::405710966773:policy/FluentBitEKSFargate",
        "UpdateDate": "2021-02-04T07:11:07Z"
    }
}
然后,将策略附加到 Fargate 的 Pod Execution Role:
export PodRole=$(aws eks describe-fargate-profile --cluster-name eksworkshop-eksctl --fargate-profile-name fargate-productcatalog --query 'fargateProfile.podExecutionRoleArn' | sed -n 's/^.*role\/\(.*\)".*$/\1/ p')
aws iam attach-role-policy \
        --policy-arn arn:aws:iam::${ACCOUNT_ID}:policy/FluentBitEKSFargate \
        --role-name ${PodRole}
echo $PodRole
登录控制台并进入到 EKS -> Cluster -> Configuration-> Compute,选择 fargate-productcatalog Fargate Profile,您将看到以下页面:
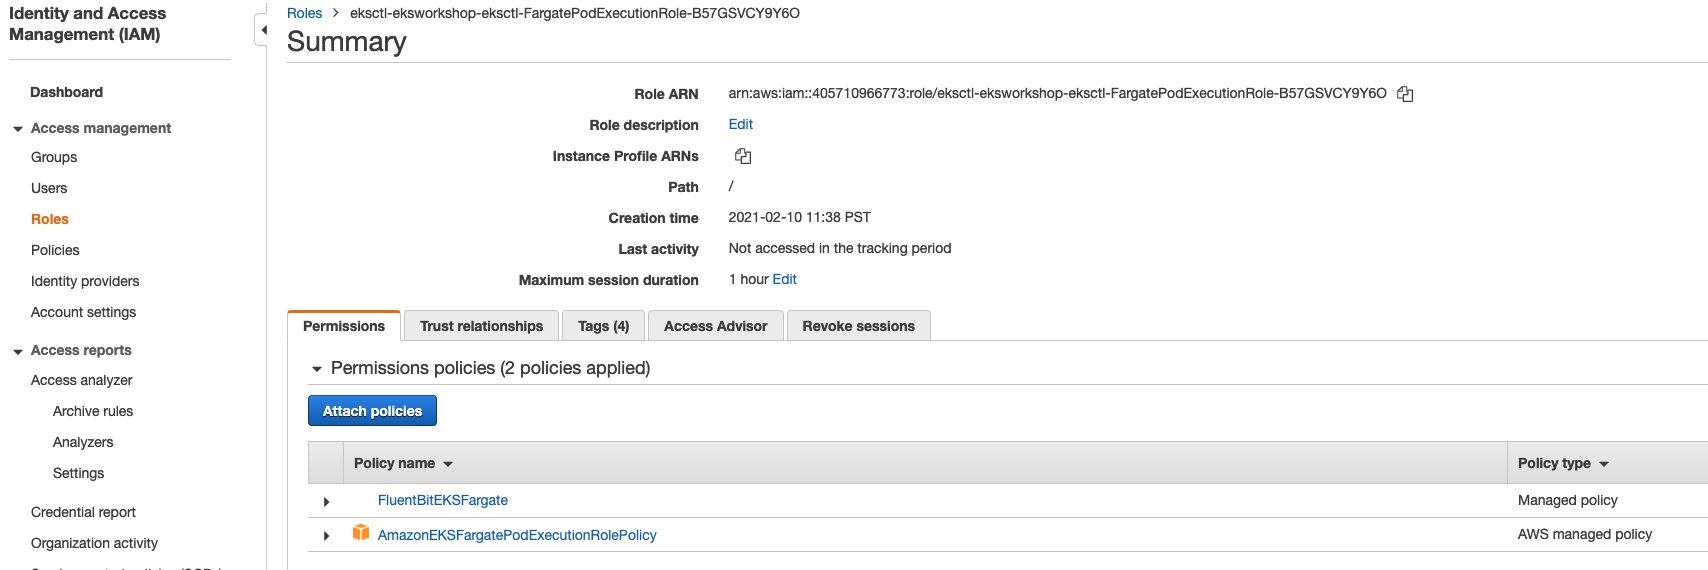
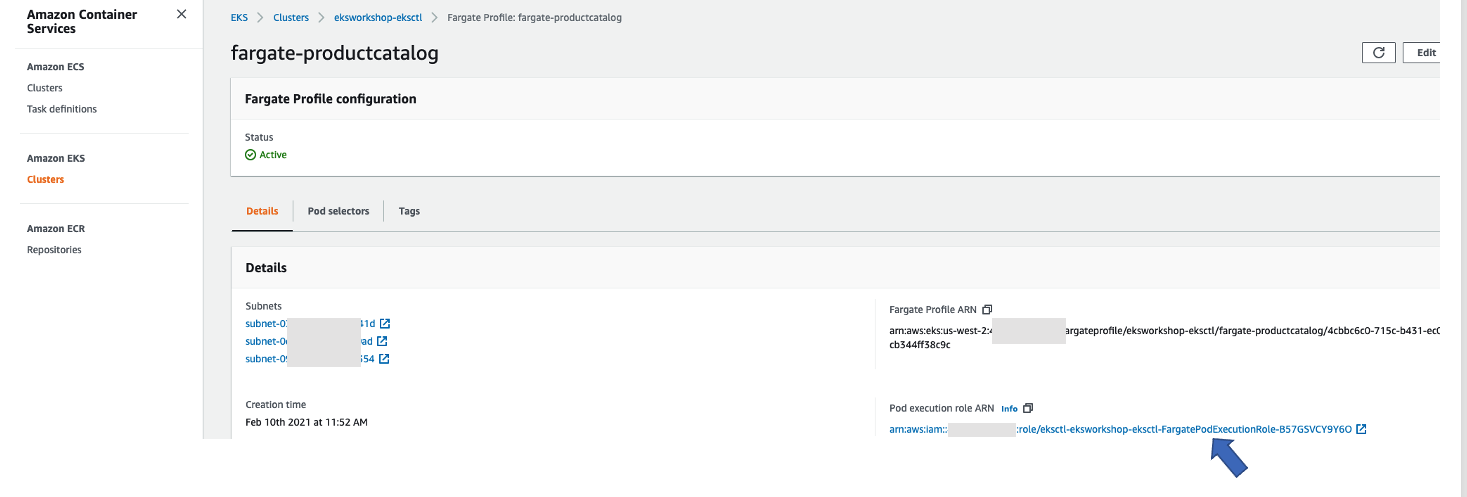 单击 Pod Execution Role。 您应该会看到以下附加到 Pod Execution Role 的
 FluentBitEKSFargate 策略:
恭喜!! 您已经完成了 EKS 可观察性的基本设置,现在让我们进入部署我们Product Catalog 应用的部分。